Follow the steps to create product addons in SetupOTT.
- Log in to the WHMCS admin panel.
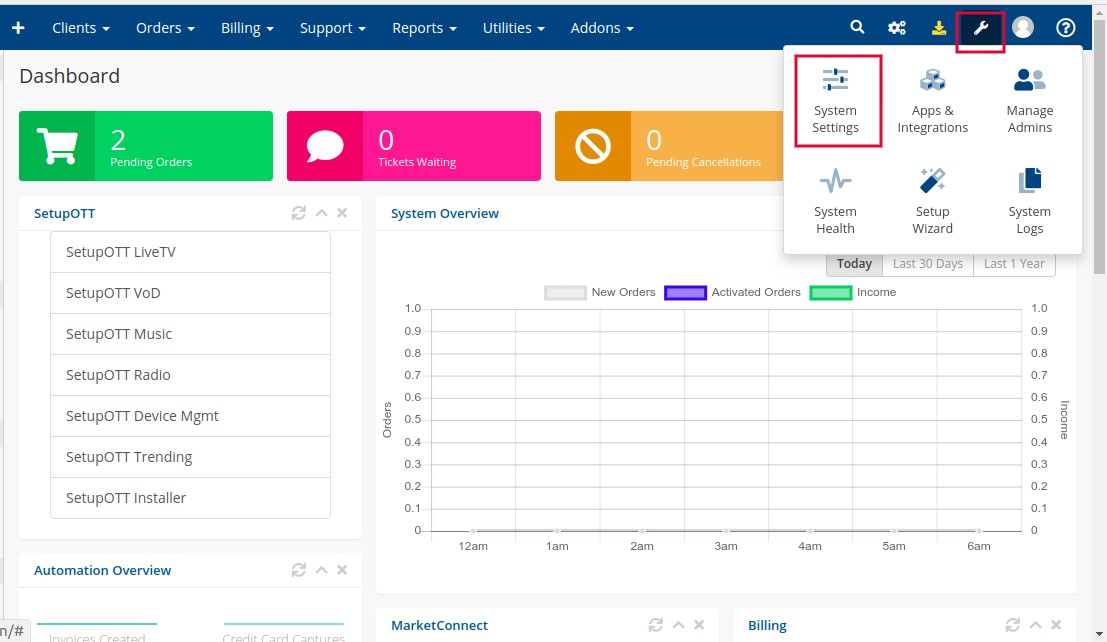
- Click the Settings Icon at the top right side of the window.
- Select the System Settings option.
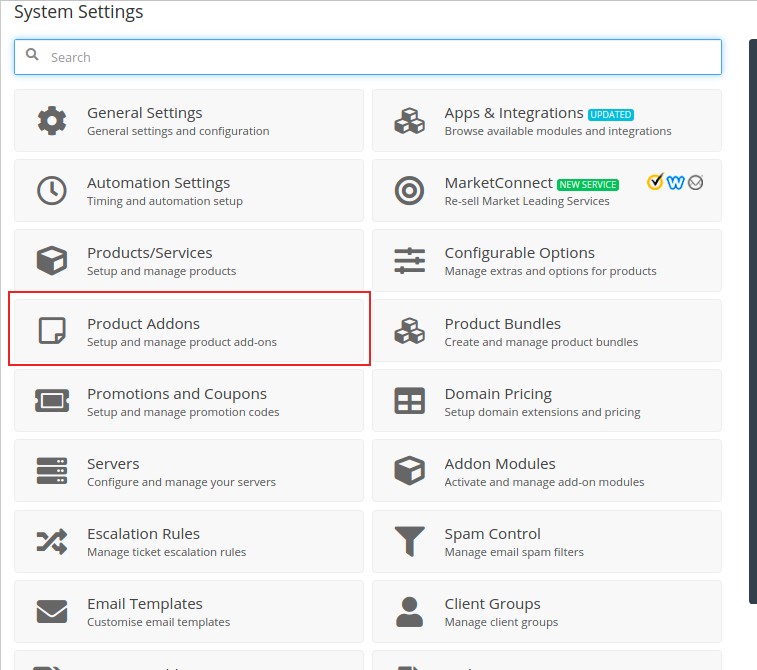
- On the redirected page, Click the Products Addons option.
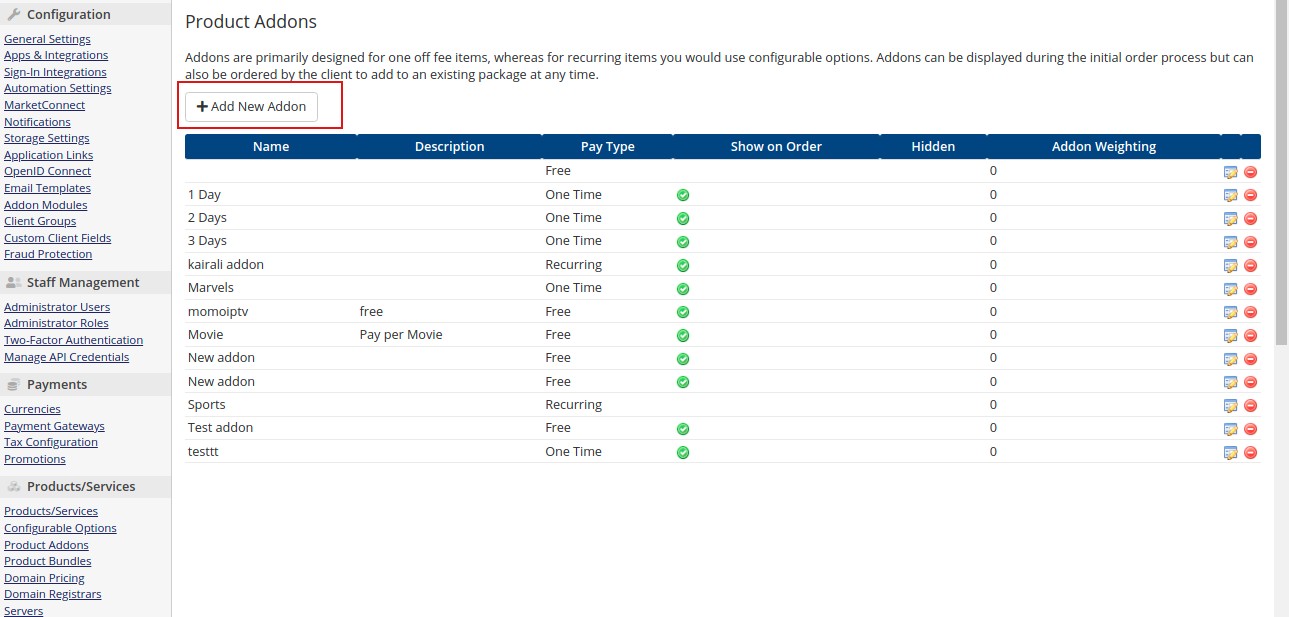
- On the redirected page, click Add New Addon option.
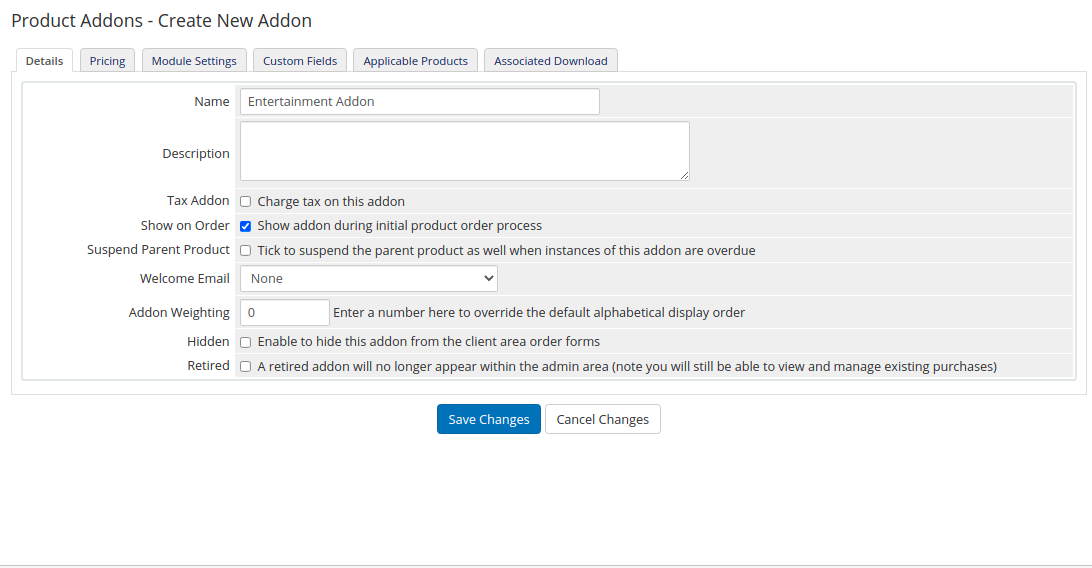
- Provide the required details. The options are explained below,
Name: Provide a name for the Addon.
Description: You can add a description of this addon.
Tax Addon: Enable if you want to charge tax on this addon.
Show on order: Show addon during the initial product order process.
Suspend Parent Product: Tick to suspend the parent product as well when instances of this addon are overdue.
Welcome Email: Select a welcome email template for this addon.
Addon Weighting: Enter a number here to override the default alphabetical display order.
Hidden: Enable to hide this addon from the client area order forms
Retired: A retired addon will no longer appear within the admin area (note you will still be able to view and manage existing purchases) - Click the Save changes button
- Go to the Pricing tab and set the pricing for this addon.
Payment Type: Select the payment type as Free, One Time, or Recurring.
1. Free – The addon will be free of cost.
2. One Time – Click the Enable option then enter the setup fee and the one-time charges of this product. You can set it in USD.
3. Recurring – Enable corresponding billing period such as Monthly, Quarterly, Semi-Annually, Annually, Biennially, or triennially. Then provide the setup fee and recurring price in USD.
Allow Multiple Quantities: Yes – Scaling Service: Each service instance allows a quantity to be defined.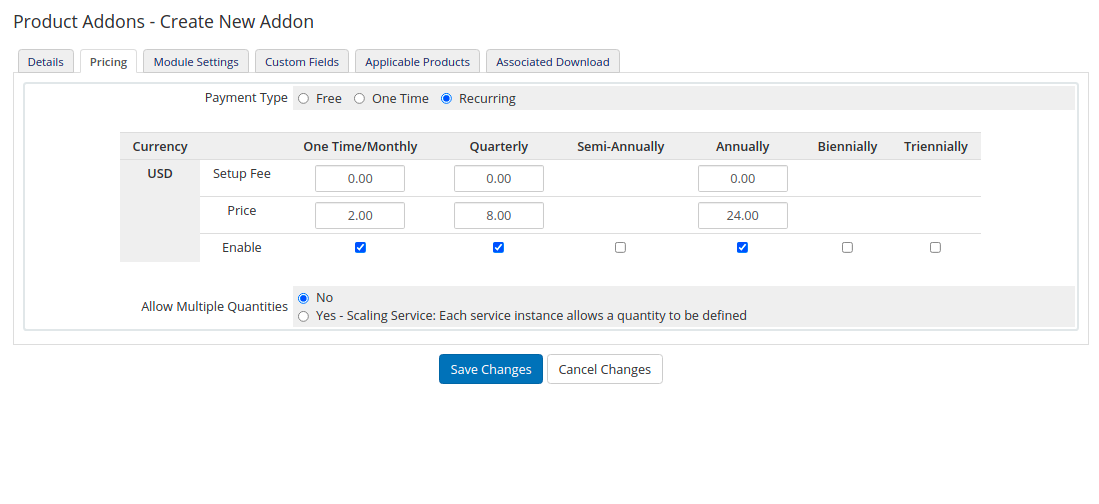
- Click the Save changes button.
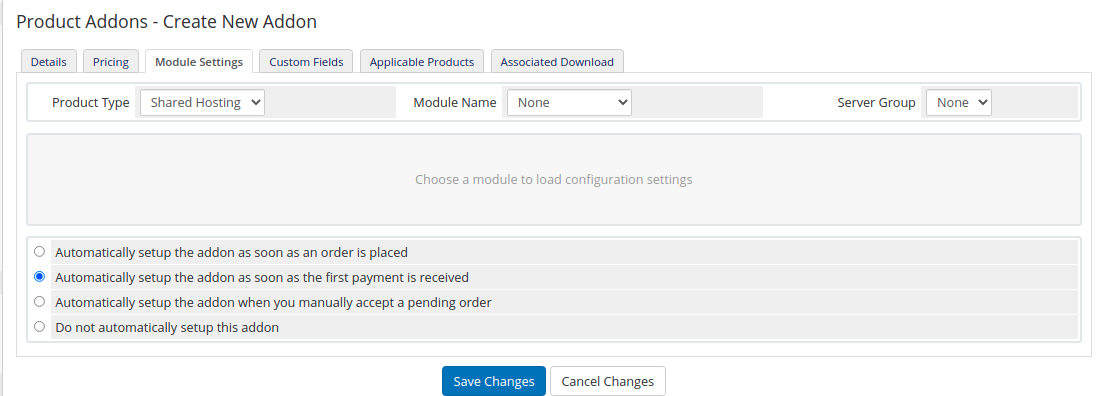
- Click Module Settings. No need to change the Product type, Module Name, and Server Group.
- Select the “Automatically setup the addon as soon as the first payment is received” option and click the Save changes button.
- Click the Applicable Products option.
- Select the products. The addon will be available under the selected product. For example, if you select “Trial” in this option. The addon will be available under the Trail package.
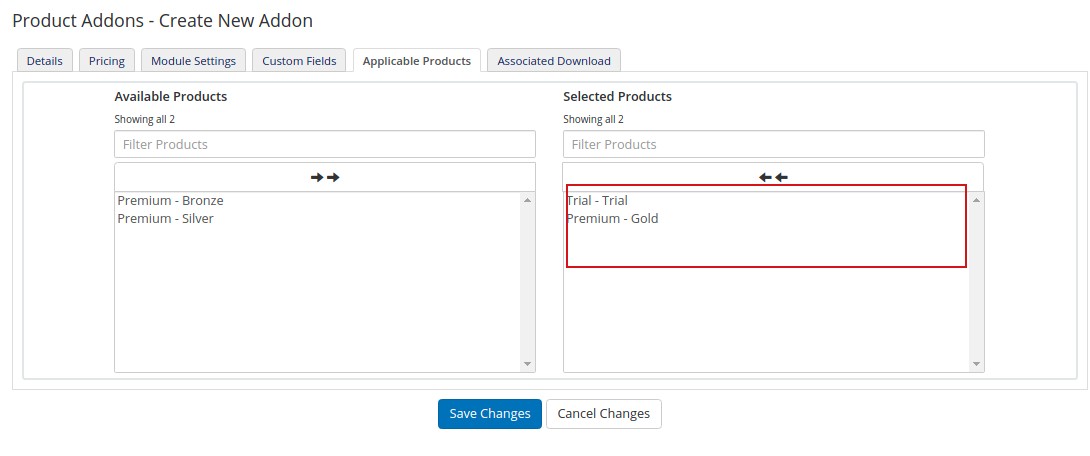
- Click the Save changes button. The addon will be available under the specified product.