To create a new product in SetupOTT, please follow the steps
- Login to your WHMCS admin panel.
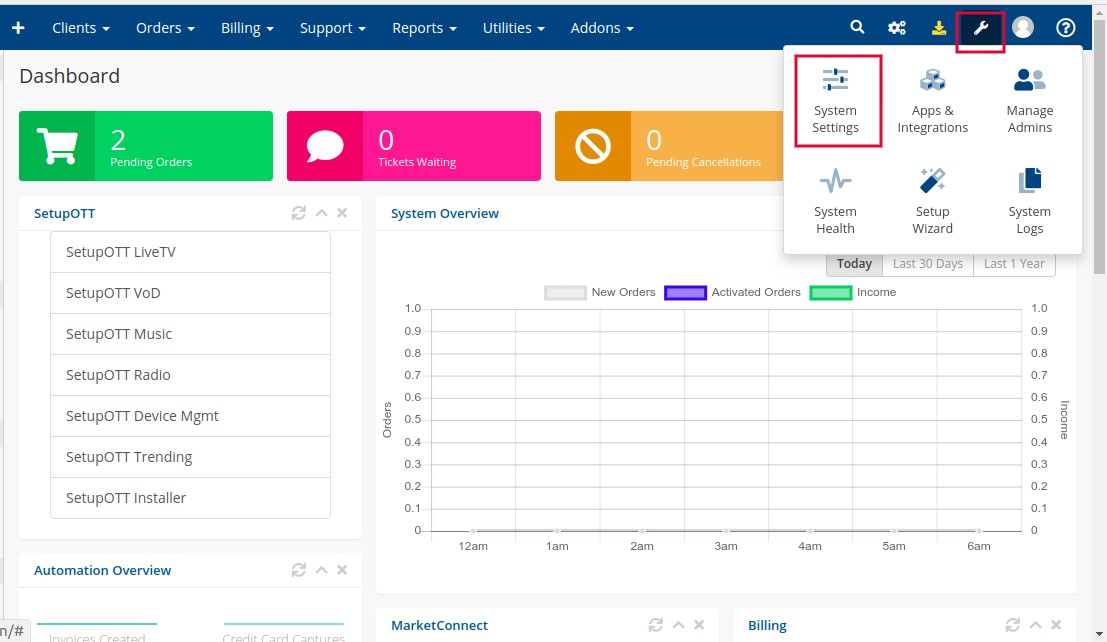
- Click the Settings Icon at the top right side of the window.
- Select the System Settings option.
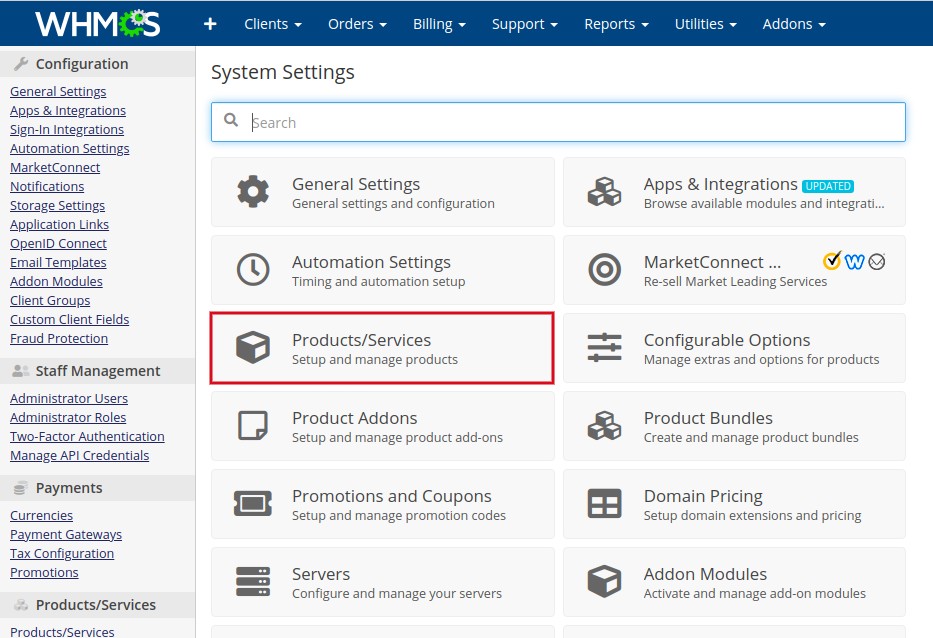
- On the redirected page, Click Products/services option.
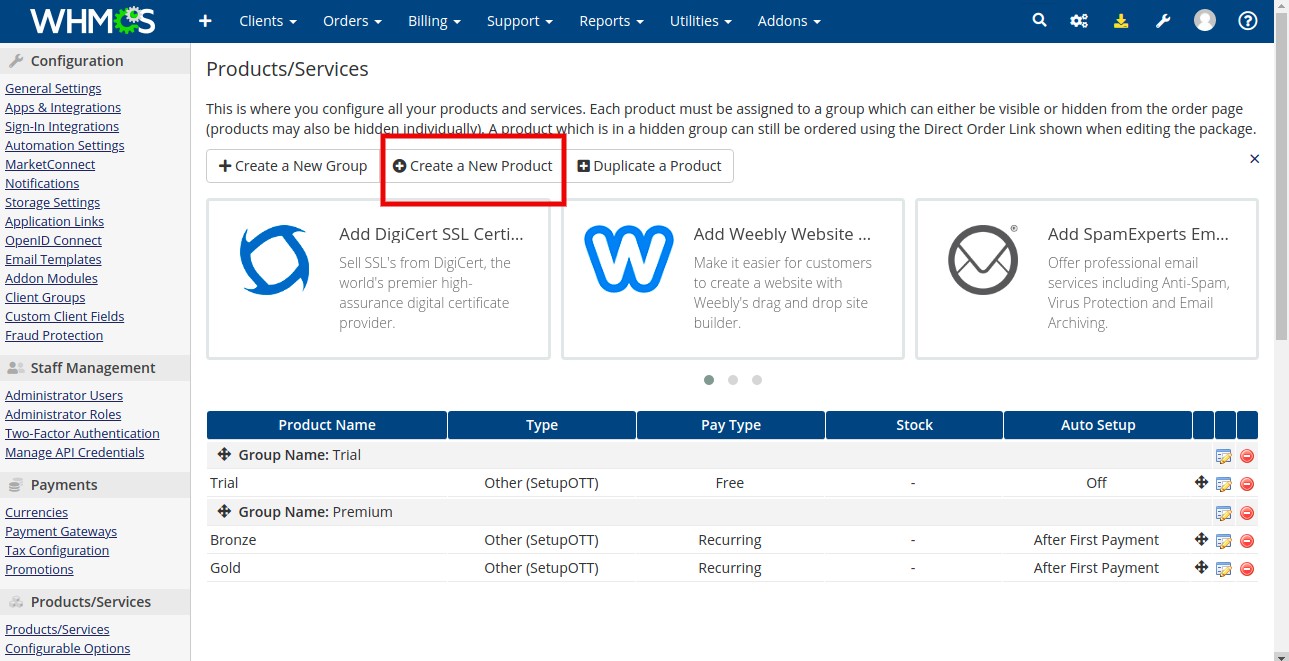
- On the redirected page, you can see the list of groups and products. Click Create a New Product option.
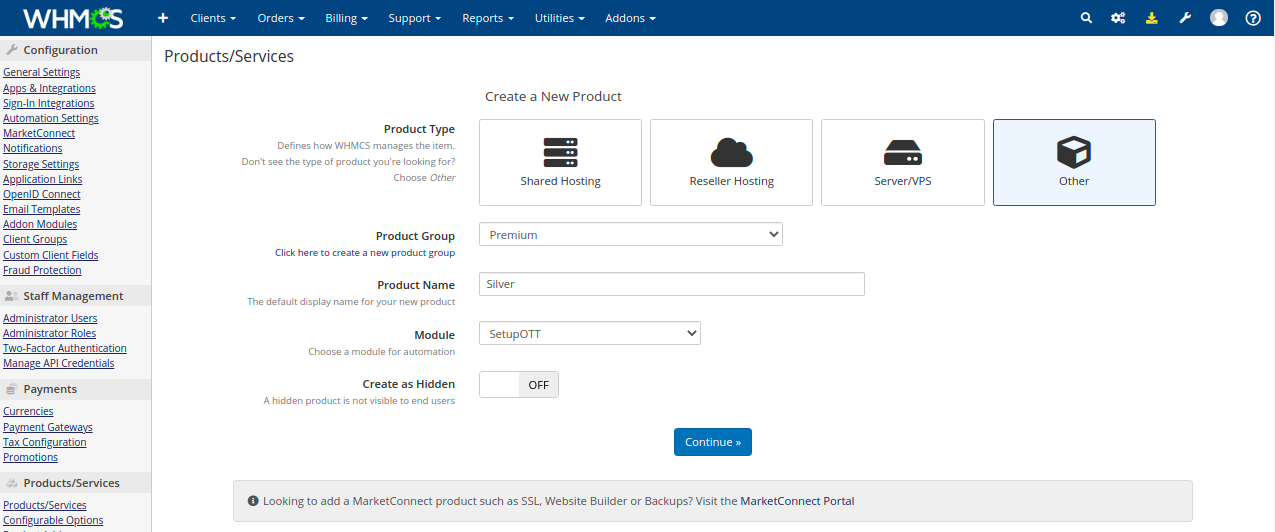
- Provide the required details on the redirected page.
Product Type: Select the “Other” option.
Product Group: Select a product group from the drop-down box. If you want to create a new group then click here
Product Name: Provide a name for the product.
Module: Select SetupOTT in this option.
Create as Hidden: Enable this option, if you want to create the product as hidden. - Click the Continue button.
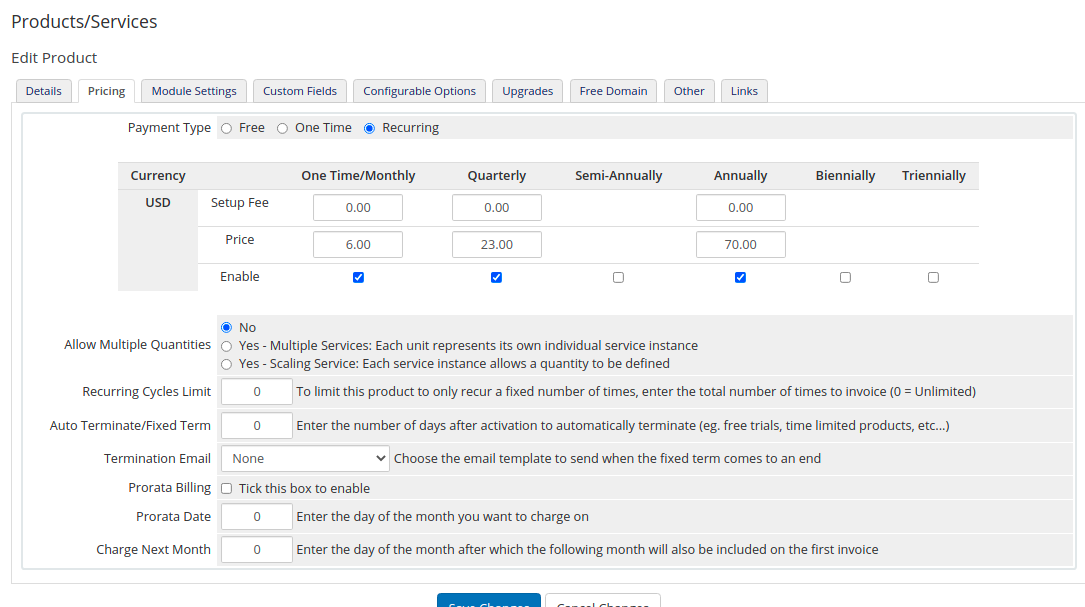
- The next step is to set the pricing details for the product. Click the Pricing tab and provide the details.
Payment Type: Select the payment type as Free, One Time, or Recurring.
1. Free – Setup this option if you want to create a demo or trial product.
2. One Time – Click the Enable option then enter the setup fee and the one-time charges of this product. You can set it in USD.
3. Recurring – Enable corresponding billing period such as Monthly, Quarterly, Semi-Annually, Annually, Biennially, or triennially. Then provide the setup fee and recurring price in USD.
Allow Multiple Quantities:
No – To disable this option
Yes – Multiple Services: Each unit represents its own individual service instance.
Yes- Scaling the service: Each service instance allows a quantity to be defined.
Recurring Cycles Limit: To limit this product to only recur a fixed number of times, enter the total number of times to invoice (0 = Unlimited).
Auto Terminate/Fixed Term: Enter the number of days after activation to automatically terminate (eg. free trials, time-limited products, etc…).
Termination Email: Choose the email template to send when the fixed term comes to an end.
Prorata Billing: Tick this box to enable.
Prorata Date: Enter the day of the month you want to charge on.
Charge Next Month: Enter the day of the month after which the following month will also be included on the first invoice. - Click the Save Changes button.
- Click Module settings and select Module Name as SetupOTT.
Select the option “Automatically setup the product as soon as the first payment is received” and click the Save Changes button.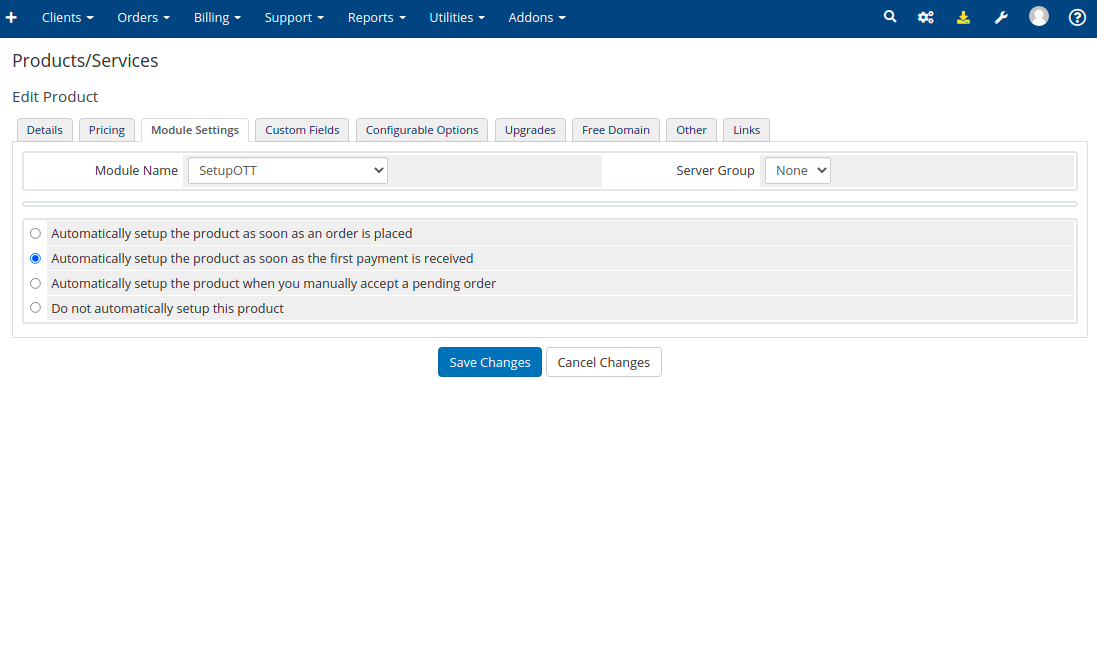
- Go to the configurable option and select the appropriate configurable option and click the Save changes button.
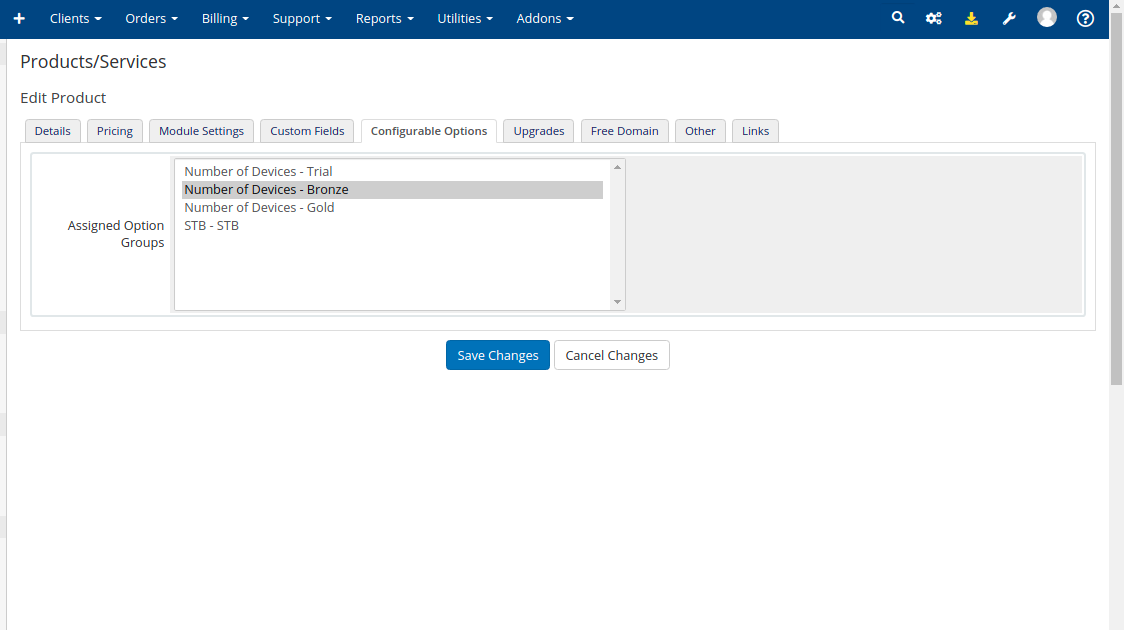
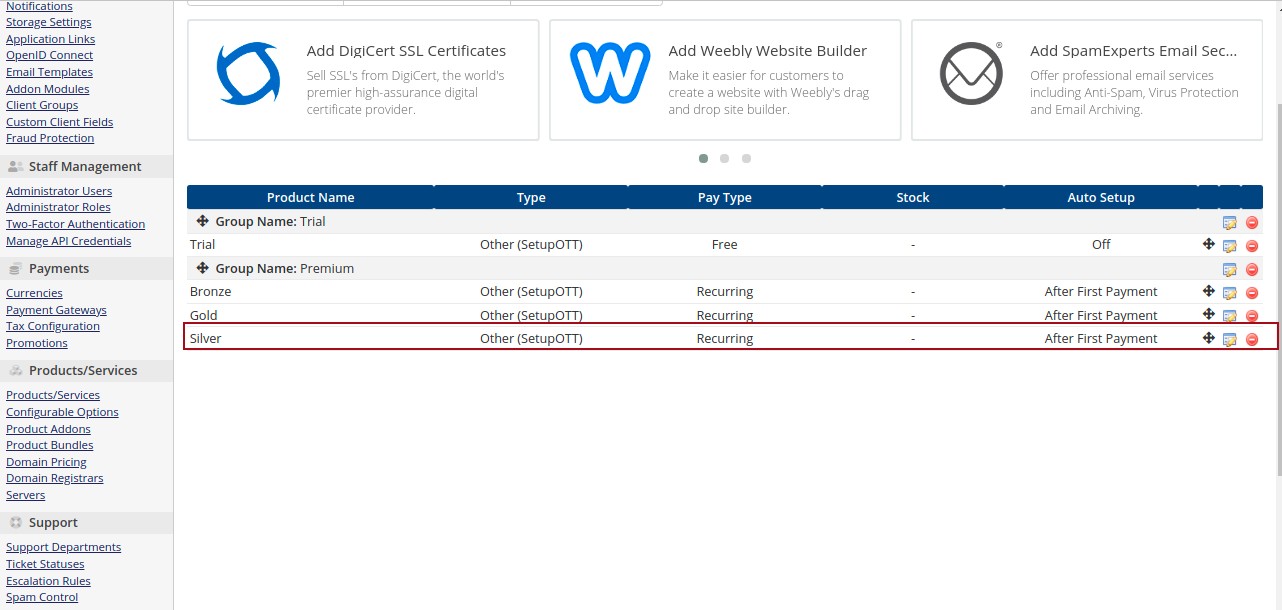
- The product is created, The product will be listed under the mentioned group in the Products/services option.