Follow the steps to create a Live TV channel,
1. Log in to your WHMCS admin panel.
2. Go to Addons.
3. Select SetupOTT LiveTV option.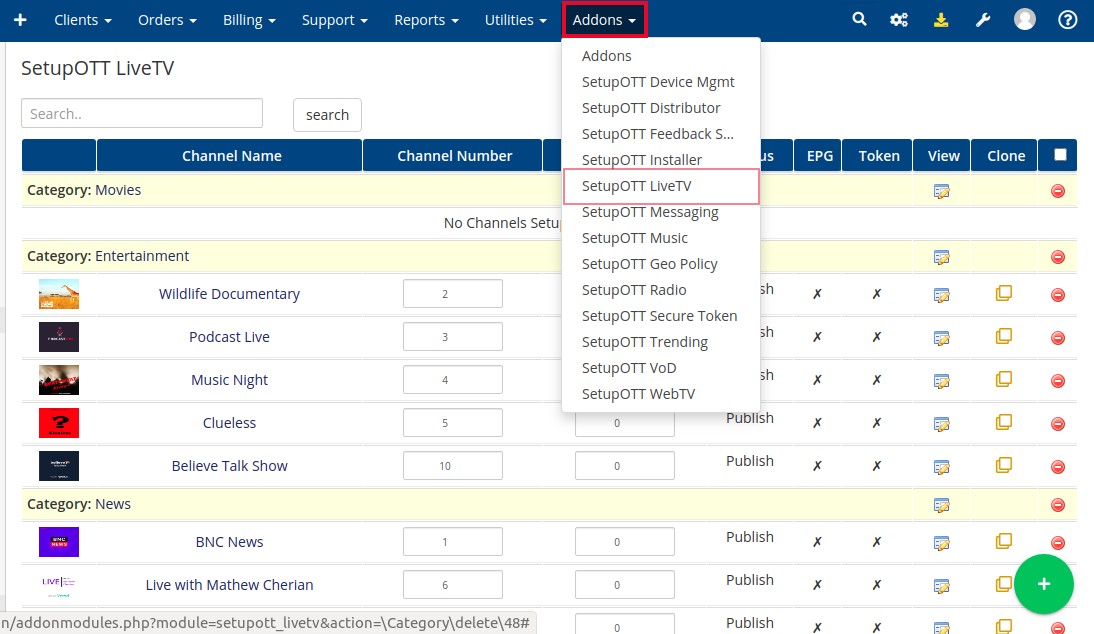
4. On the redirected page, click the green plus button and then click on the “Create channel” Icon.
5. On the next page, you have to provide the corresponding details. The “*” specified columns are mandatory.
-> Create Channel
- Channel Name: This is a mandatory field. You need to provide the channel name.
- Search Tags: This not a mandatory field. In this column, you can select channel-related keywords such as comedy, news, music, etc.
- Short Description: This a mandatory field. You need to specify a short description of the channel.
- Description: You can specify the detailed description of the channel here. This is not a mandatory field.
- Category: This is a mandatory field. You need to select the channel category from the drop-down menu. If you want to create a category then click here!
- S-Bucket: You can add this channel to an S-Bucket. So this channel only available for the product assigned to this bucket. Click here for more info
- T-bucket: You can specify how many days or hours a user can rent or purchase this channel at a specific price. So the user can pay the amount and watch the channel for the specified days or hours. Click here for more info
- EPG ID:
- Timezone: This is a mandatory field. Search the channel local time zone from the list and select.
- Language: This is a mandatory field. Select the channel language from the list. If the channel language not available in the list then you can click the “Add Language” option to add. Click here for more info
- Maturity Rating: This is not a mandatory field. You can set the age restriction for the viewers.
- Token Name:
- Live HLS URL: This is a mandatory field. You have to provide the HLS channel source URL. Once the channel published the content will play from this URL.
- DVR HLS URL: You can add a DVR HLS URL if you want to stream the recorded content when the live stream offline. The playback URL format should be “http://hostname/streamname/index-{from}-{duration}.m3u8”
- DVR Retention Days: This option is used to specify how many days the recording should be kept. This is not a mandatory field.
- Upload Logo: You can upload the channel logo here. The aspect ratio of the logo image is 1:1 which is 1200*1200, 1600*1600, etc.
-> Content settings
This option is not mandatory. This option is mainly used for setting the channel visibility, that is you can set the channel availability here. Also, you can schedule the channel to be published for a specific date. The options are described below
- Publish On: You can set the channel publishing date from the calendar. The channel will be available from that date. If you want to publish the channel immediately so you can leave this column empty.
- Status: Select the status of the channel here. If you want to publish the channel so select the “Publish” option from the list.
- Trailer HLS URL: If you need to stream a trailer of the channel, so you can add the trailer HLS URL here. So the viewers can watch the trailer till the channel is published. Once the channel is published, the trailer will be automatically removed.
-> Featured Item
If you want to highlight the channel at the top of the application then you can enable this feature. This feature is mainly used for highlighting the upcoming channel details. This is not a mandatory field. The options are explained below.
- Featured Item: Put a tick mark on the column to enable this feature.
- Schedule Start: Select a date to start the advertising.
- Schedule Stop: Select a date to stop the advertising.
- Banner Logo: This is a mandatory field. You need to upload the banner logo. This logo will highlight in the application. The aspect ratio of the logo image is 2:75 to 2.85 which is 1200*480, 1600*570, etc.
6. Click the Save button to add the channel.